
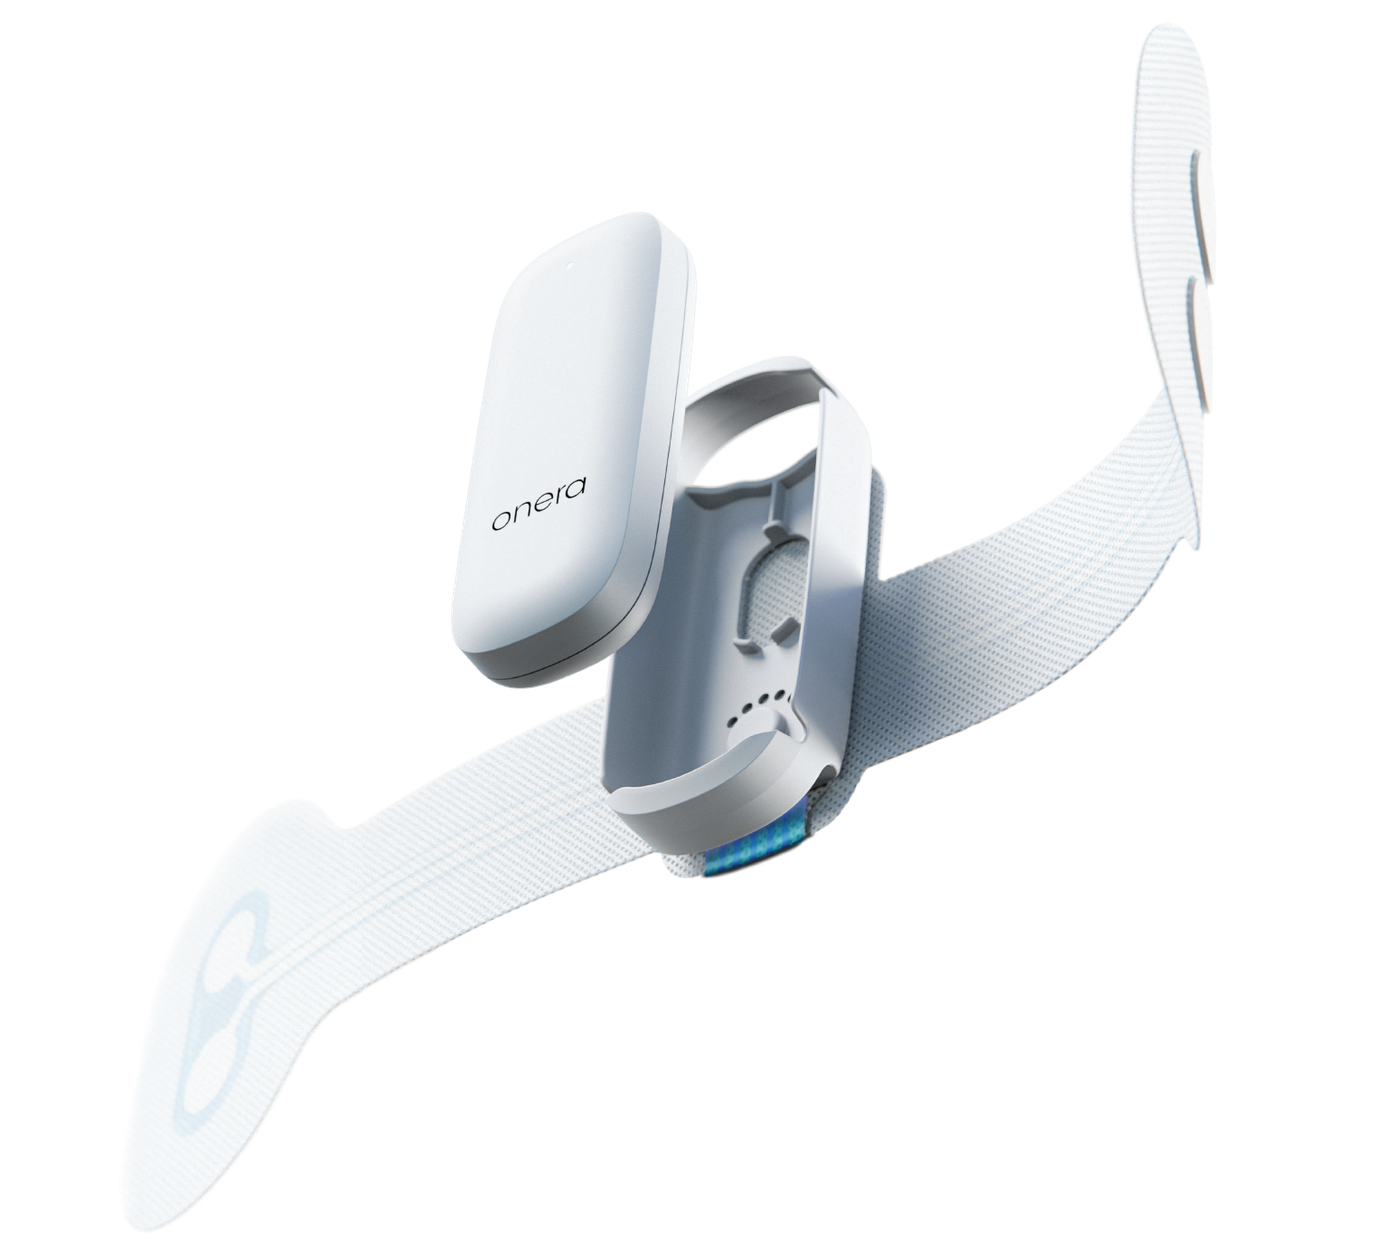
If you have an ESD Health Type II at-home sleep study coming up, chances are you have some questions and maybe a little anxiety about how the night will go. That is normal. The device is designed for home use, and preparation mainly involves reviewing the instructions and applying the sensors correctly. This guide walks you through it, from the moment your kit arrives to the morning after your study.
The instructions supplied with your kit and any directions from your clinician should guide your preparation.
Before Your Kit Arrives
It helps to know what is coming. Confirm the expected delivery date and testing window with ESD, then plan for a night when you can sleep at home in your normal environment. Try not to schedule the study for a night when you know you will be traveling, sleeping somewhere unfamiliar, or under unusual stress.
If your work schedule means you normally sleep during the day, ask ESD how to arrange the recording around your usual sleep period.
If you have concerns about the process ahead of time, this is a good moment to reach out. The ESD team can answer questions before you open the box.
When the Kit Arrives
When the kit shows up, unbox it and take a few minutes to review the instructions and components. You do not have to apply anything yet. Get familiar with what is in the kit and where each piece goes.
The Onera Sleep Test System uses sensors attached with adhesive patches and is designed for patients to apply at home. Follow the placement instructions carefully, even if you are comfortable using other wearable devices. [1]
Look through the instructions once or twice, including any video provided with your kit. If something is unclear or a component appears to be missing, contact ESD before the study. A clear, confident setup helps support a usable recording.
The Day of the Study
Try to keep the day close to a normal day while following your study preparation instructions. A few things deserve attention:
Follow the alcohol and caffeine instructions. General sleep-study guidance recommends avoiding alcohol and caffeine during the afternoon and evening before testing. Follow any more specific timing provided by your testing team. [2]
Avoid an afternoon nap before an overnight study. If you normally sleep during the day or have a different schedule, ask your testing team how to prepare. [2]
Eat a normal dinner. Avoid making unusual changes to your routine just for the study.
Leave time to wind down before bed. Give yourself enough time to read the setup instructions without feeling rushed.
Ask about medication in advance. Your doctor should advise whether to take sleep medication for the study. Record any sleep medication taken on the questionnaire. [3]
If you already use PAP or another sleep apnea treatment, confirm with your ordering clinician whether it should be used during this particular study. Do not decide to stop or change prescribed treatment based on this article.
The Night of the Study
Set aside about 15 minutes before bed to review the instructions and apply the device, allowing longer if needed. Follow the visual guides showing where each sensor goes and how to secure it.
Prepare your skin as directed. Onera advises washing and thoroughly drying the application areas, using the supplied wipes, and letting the skin dry before applying the patches. [3]
A few practical tips:
Choose a comfortable sleeping position. Follow any positioning instructions from your clinician and avoid pressing directly on the sensors.
Keep your usual bed and pillows where possible. Aim for a comfortable, familiar sleep environment.
If a patch comes loose, follow the troubleshooting instructions. Onera advises trying to reattach it, using a small piece of medical tape or a bandage if needed, and recording which sensor came off on the questionnaire. [3]
Avoid removing an attached patch just to reposition it. Onera warns that it may not adhere as well after removal. [3]
Try not to stay awake worrying about the study. Follow the setup instructions, settle in, and give yourself the opportunity to sleep.
If an indicator light does not behave as expected, use the troubleshooting guide supplied with your kit. Note any problems and contact the support team using the details provided. The clinical team will determine whether the recording is usable and whether another study is needed.
If the device fails or the recording is interrupted, contact ESD about the next steps and any applicable replacement arrangements.
The Morning After
When you wake up, stop the recording and remove the sensors according to the kit instructions. Complete any questionnaire, including notes about sensor problems, medication, or an unusual night of sleep.
Follow the packing instructions so the correct components are returned. Use the supplied return packaging and label, and meet the return deadline provided with your kit. Returning the equipment promptly helps avoid delays in processing your study.
What to Expect Next
Once the device is received back, the recording is processed for scoring and clinical interpretation. For testing requested under the FAA’s OSA assessment guidance, a sleep medicine specialist must interpret the study and provide a diagnosis and treatment recommendations, if any. [4]
From receipt of the returned device to the final report, the process typically takes three to five business days. Additional review or a recording problem may affect that timing.
Your report brings together the sleep findings and clinical interpretation. Share the complete report with your AME, who can confirm what needs to be submitted and whether additional information is required. A completed report does not guarantee that the FAA will request no further records.
Our guide to what happens after your FAA sleep study results come back explains the report and possible next steps in more detail.
If the findings raise questions, your interpreting or treating physician should explain their clinical meaning and any treatment recommendations. ESD can help with testing records and practical questions, while your AME addresses certification requirements.
How ESD Supports You Through It
The at-home study is only part of the process. Dave and the ESD team can help with questions before your kit arrives, practical setup concerns, and obtaining your completed report.
ESD’s Type II at-home sleep testing for pilots combines Onera’s home-testing technology with support through the diagnostic process. Your clinician and AME remain the right people to advise on treatment and FAA medical certification.
The goal is to make the testing process easier to understand and prepare for. If you have questions about your kit, timing, or report, contact the ESD team.